Frigidaire Outdoor Grill with Electronic Ignition User Manual Page 1
Browse online or download User Manual for Grills Frigidaire Outdoor Grill with Electronic Ignition. FRIGIDAIRE Outdoor Grill with Electronic Ignition User Manual
- Page / 19
- Table of contents
- TROUBLESHOOTING
- BOOKMARKS
- Outdoor GrillOutdoor Grill 1
- Welcome & Congratulations 2
- General Safety Instructions 3
- Grill Features: GL38 4
- Grill Assembly 5
- Side Burner Assembly 6
- Built-In Instructions 7
- Gas Requirements 10
- Pre Operation Leak Testing 11
- Lighting the Grill 12
- Using the Grill 13
- Pointed End Of Rod 14
- NOTE: Do Not operate the main 15
- Care and Maintenance 16
- Troubleshooting Your Grill 17
- Warranty 19
Summary of Contents
5-83-4219-111617-1819Grill AssemblyBuilt-In InstructionsWelcome/Product RegistrationGeneral Safety InstructionsGrill Features and ComponentsGas Requir
L.P. GAS INSTALLATIONFrigidaire Gallery Gas Grills that are set to operate with L.P. gas come with a high capacity hose and regulator assembly.(Note:
GENERAL INFORMATIONAlthough all gas connections on the grill are leak tested prior to shipment, a complete gas tightness check must be per-formed at t
BEFORE LIGHTINGImportant! Before Lighting...Check the gas supply line for cuts, wear or abrasion.Always keep your face and body as far away from the
GRILL LOCATIONDo not use the grill in garages, breezeways, sheds or any enclosed area. Never operate the grill inenclosed areas as this could lead to
The grill rotisserie system is designed to cook items from the back using infrared heat. The rotisserie burner is aninfrared type which provides inten
ROTISSERIE LIGHTINGOpen the lid. Push and turn the control knob for the rotisseriecounter clockwise to the “HIGH” position. Wait 5 seconds.Then press
DRIP TRAYThe drip tray located below the grill, inside the cart, should be cleaned periodically to prevent heavy buildup of debris. NOTE: Allow the d
GENERAL TROUBLE SHOOTINGYou should inspect the burners at least once a year or immediately if any of the following conditions occur:• The smell of gas
PROBLEMGrill will not light with a match or low heat with dial setto "High" position.Flame is erraticFlare-upsBurner flame is mostly yellow
LIMITED LIFETIME WARRANTYFrigidaire Grills have a limited lifetime warranty on all stainless steel panels, a limited 3 year warranty on stainlesssteel
Welcome & CongratulationsPlease retain this manual for future reference© 2004 Electrolux Home Products, Inc All rights reservedCongratulations
TESTED IN ACCORDANCE WITH ANSIZ21.58b-2002/CGA 1.6b-M02 STANDARD FOROUTDOOR COOKING GAS APPLIANCES.THIS GRILL IS FOR OUTDOOR USE ONLY.Check your local
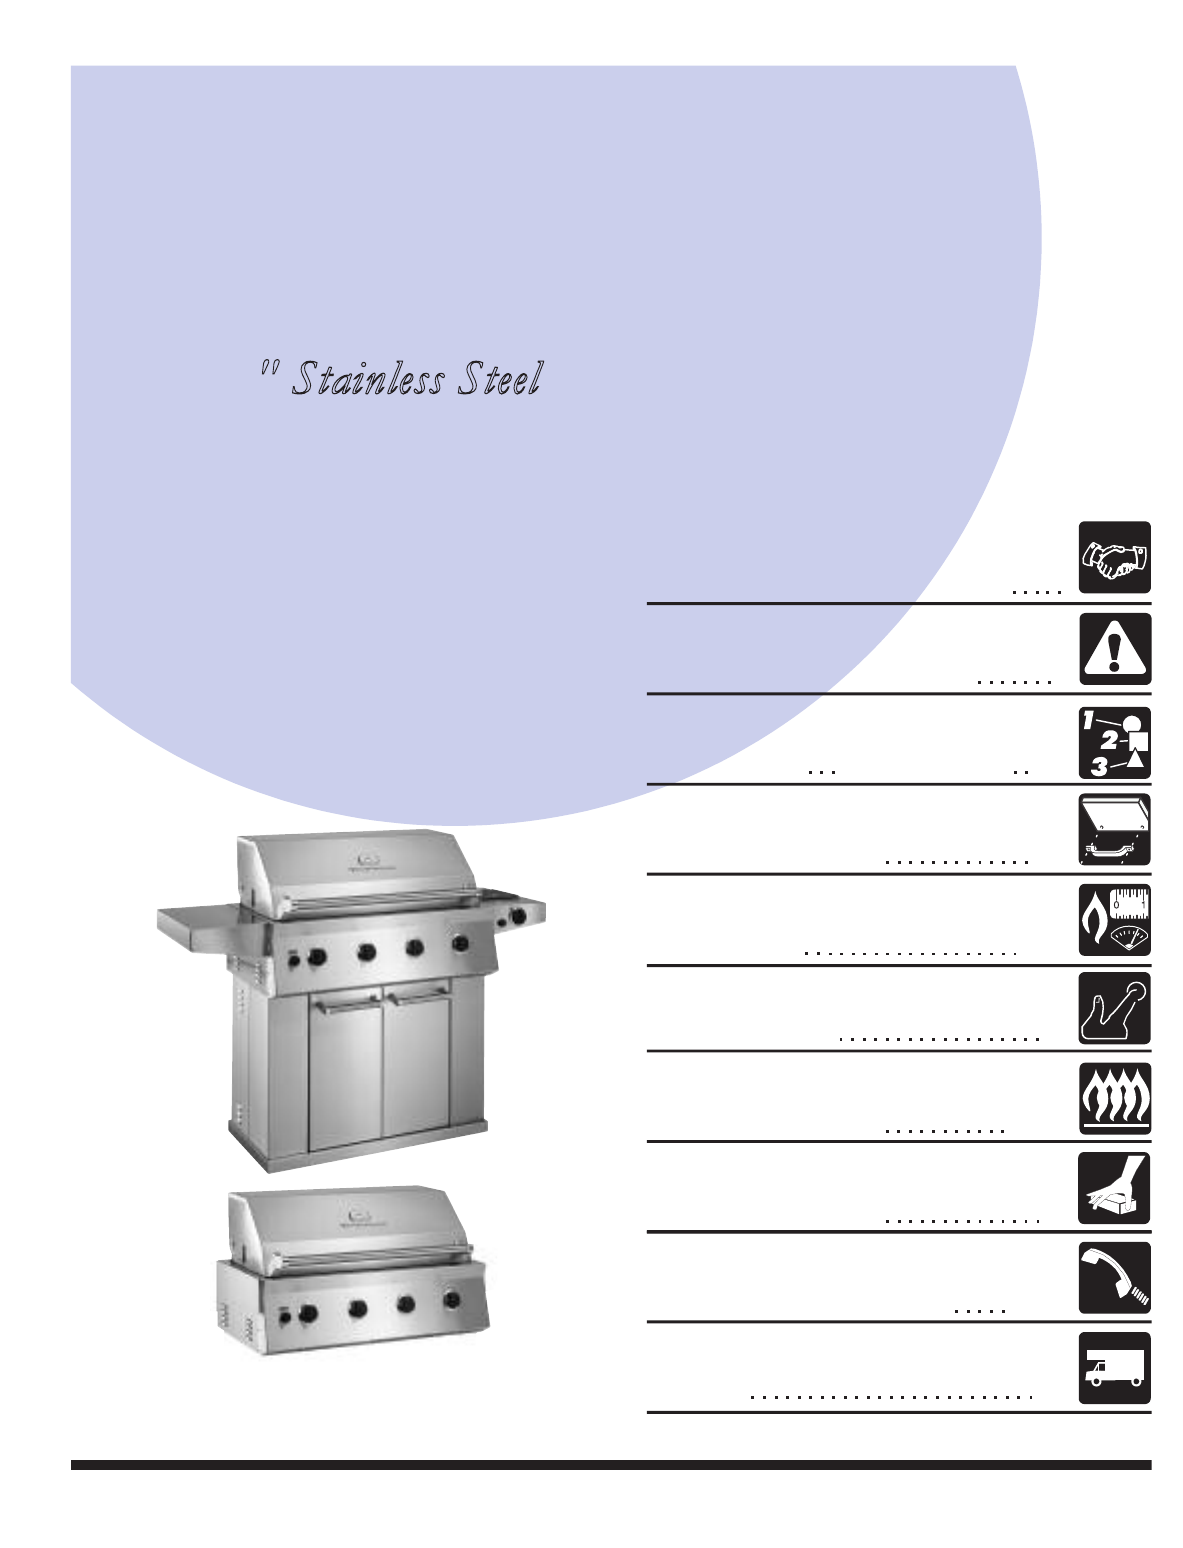
3Grill Features: GL381. Roll top grill hood2. Grilling/Cooking surface3. Side Shelf4. Control knob: back infrared burner5. Control knobs: main burners
IMPORTANT: Remove all protective plastic film fromstainless steel parts prior to assembly/use. This filmis installed at the factory to prevent damage
SIDE BURNER PARTS ASSEMBLY1. Attach the side burner shelf to the grill by inserting theshelf hooks into the slots on the side of the grill andpushing
7Built-In InstructionsPLANNING AND DESIGNStart by identifying the number and size of components you want to include in your outdoor cooking center. Co
Note A: Wire Cutout Right Side6” x 4” Opening MinimumSide Cutout ViewRequired igniterCutout27 1/2”MinimumA38 3/8”B 21 1/8C 10 15/16”Minimum ClearanceT
9GENERAL INFORMATIONNever attach an unregulated gas line to the appliance. Connection to an unregulated gas line cancause excessive heat or fire.Verif
© 2020, manymanuals.com. All rights reserved. | 1.507 s |
 Manymanuals.com
 Manymanuals.de
 Manymanuals.fr
 Manymanuals.it
 Manymanuals.pl
 Manymanuals.cz
 Manymanuals.es
 Manymanuals-pt.com
Comments to this Manuals