Frigidaire Top Mount Refrigerator 241694400 User Manual
Browse online or download User Manual for Refrigerators Frigidaire Top Mount Refrigerator 241694400. FRIGIDAIRE Top Mount Refrigerator 241694400 User Manual
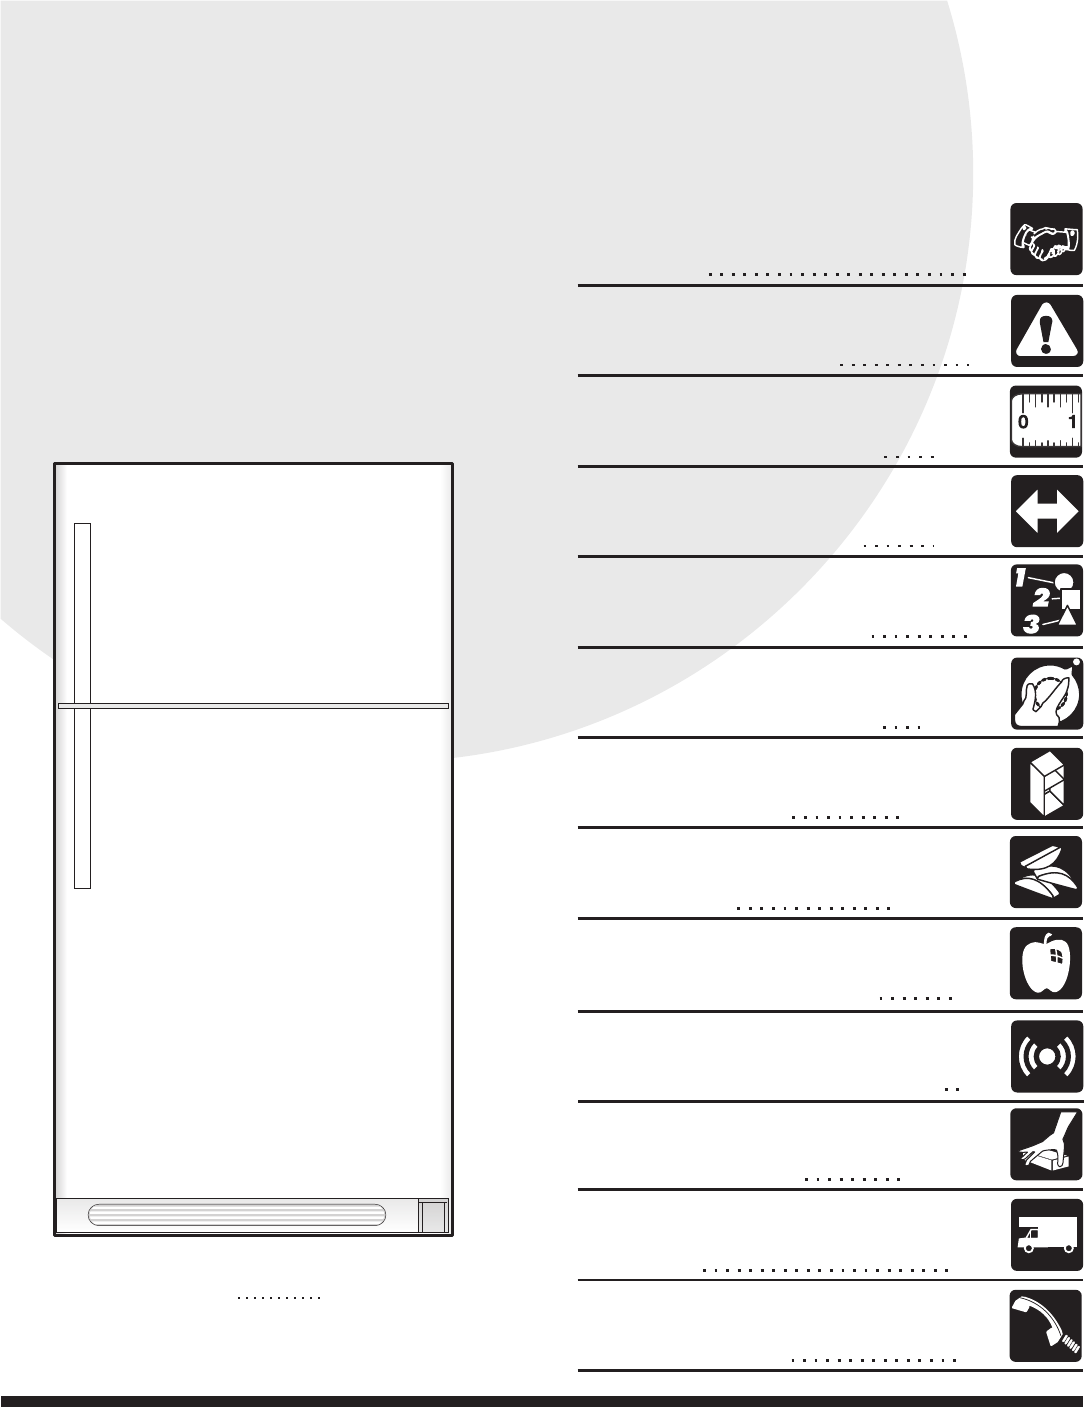
- Page / 18
- Table of contents
- BOOKMARKS
- Use & Care Manual 1
- Extended Service Contract 2
- IMPORTANT SAFETY INSTRUCTIONS 3
- INSTALLATION 4
- FEATURES AT A GLANCE 9
- TEMPERATURE CONTROLS 9
- LOOKING INSIDE 10
- SpillSafe 11
- LOOKING INSIDE (CONTINUED) 12
- ICE SERVICE 12
- Operating Sounds and Sights 13
- Care and 13
- Cleaning Chart 13
- Care & Cleaning Chart 15
- Vacation and Moving Tips 16
- ATTENTION 18
Summary of Contents
P/N 241694400 (0106)READ AND SAVE THESE INSTRUCTIONSUse & Care ManualRefrigeratorTop MountWelcome 236 - 94 - 599 - 1010 - 1212 - 131315 - 161417
10TEMPERATURE CONTROLS (CONTINUED)Freezer Control (some models)Refrigerator Control (some models)Refrigerator & Freezer Control (some models)* IM
11Full Width CantileverGlass ShelfCantilever Glass ShelfFixed and SlidingDOOR STORAGEDoor bins, shelves, and racks are provided for convenientstorage
12LOOKING INSIDE (CONTINUED)HUMIDITY CONTROL(SOME MODELS)Crisper Humidity ControlDELI DRAWER (SOMEMODELS)Some models are equippedwith a Deli Drawer fo
13ICE SERVICE (CONTINUED)• Wash the ice container in warm water with mild detergent.Rinse well and dry.• Stop the ice maker when cleaning the freezer
14NORMAL OPERATING SOUNDS & SIGHTSUNDERSTANDING THE SOUNDS YOU MAY HEARYour new high-efficiency refrigerator may make unfamiliarsounds. These ar
15CARE & CLEANINGKeep your refrigerator and freezer clean to prevent odor build-up. Wipe up any spills immediately and clean both sections atleast
16CARE & CLEANING (CONTINUED)NEVER CLEAN CONDENSER (SOME MODELS)If your refrigerator isequipped with aNever Cleancondenser, there’sno need to clea
17Your appliance is covered by a one year limited warranty. For one year from your original date ofpurchase, Electrolux will pay all costs for repairi
18BEFORE YOU CALLATTENTIONTo Properly Install Your RefrigeratorSee “Installation” Section On Pages 4-5ORTo Reverse The DoorsSee “Door Removal &
2WELCOME & CONGRATULATIONSCongratulations on your purchase of a new refrigerator! Wehere at Electrolux Home Products, Inc. are very proud of ourpr
3IMPORTANT SAFETY INSTRUCTIONSFOR YOUR SAFETY• Do not store or use gasoline, or other flammable liquidsin the vicinity of this or any other appliance
4INSTALLATIONThis Use & Care Manual provides specific operatinginstructions for your model. Use the refrigerator only asinstructed in this Use &am
5INSTALLATION - CONNECTING ICE MAKER TO WATER SUPPLYBefore Installing The Water Supply Line, You Will Need• Basic Tools: adjustable wrench, flat-blade
6DOOR REMOVAL / REVERSAL INSTRUCTIONS1. Remove toe grille.2. Remove top hinge with 3/8” hex driver and lift freezer door off of centerhinge pin. Set
7DOOR REMOVAL / REVERSAL INSTRUCTIONSTO REMOVE FREEZER HANDLE:(Handles may be easier to reverse while doors are off.)1. Remove two screws attaching h
8TO REMOVE REFRIGERATOR HANDLE:(Handles may be easier to reverse while doors are off.)Figure 1 Style Handles1. Remove two screws attaching handle to t
9DOOR REMOVAL / REVERSAL INSTRUCTIONS6. Remove bottom hinge. Reinsert two outside screws inholes and tighten.7. Reverse steps 1 - 6 to reinstall doo
Related products and manuals for Refrigerators Frigidaire Top Mount Refrigerator 241694400
 (3 pages)
© 2020, manymanuals.com. All rights reserved. | 0.024 s |
 Manymanuals.com
 Manymanuals.de
 Manymanuals.fr
 Manymanuals.it
 Manymanuals.pl
 Manymanuals.cz
 Manymanuals.es
 Manymanuals-pt.com
Comments to this Manuals